FlexClip Getting Started Tutorial
Guideline
1. Getting Started
Open//m.fasararagdolls.comin your browser.
On the front page, you can click theStart from Scratchbutton to enter the editing page directly. You can also choose a template first by clicking theCreate by Templatesbutton.
On the template page, easily click theCreate a Videobutton or click theCustomizebutton of a template to start video editing.

2. Choose Templates
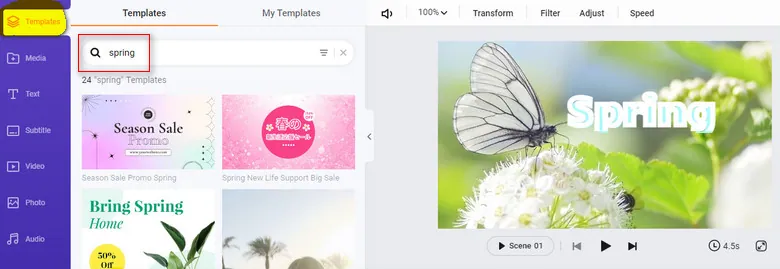
To make a video easier, you can select a template on thetemplate pagefirst. The template can be changed on the editing page freely. Entering keywords in the search box can help you find your desired template.
3. Add Media Files
3.1 Local Files
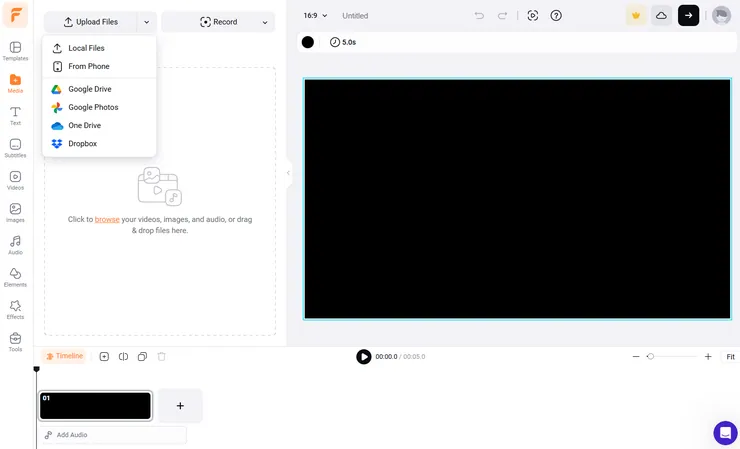
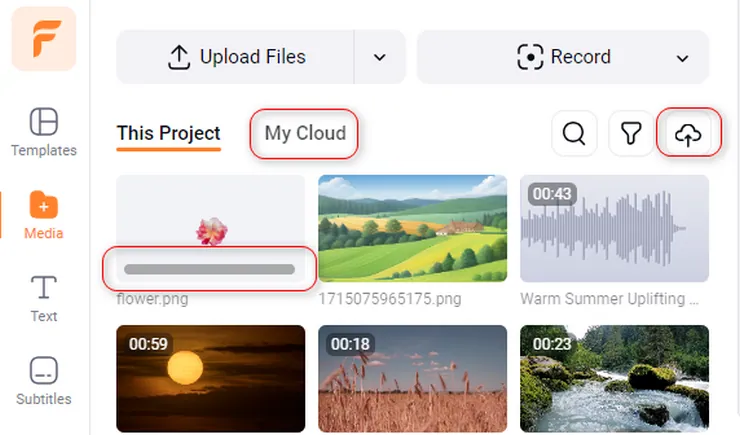
To use your own files, clickMediaon the sidebar and click the上传文件button to choose video clips, images, and music files from your computer. ClickFrom Phoneand you can scan the QR code and upload files from your phone.
Here, clicking theRecordingbutton can record the screen or webcam. You can also drag & drop files from your computer or insert files from some platforms, such as Google Drive, Dropbox, etc.
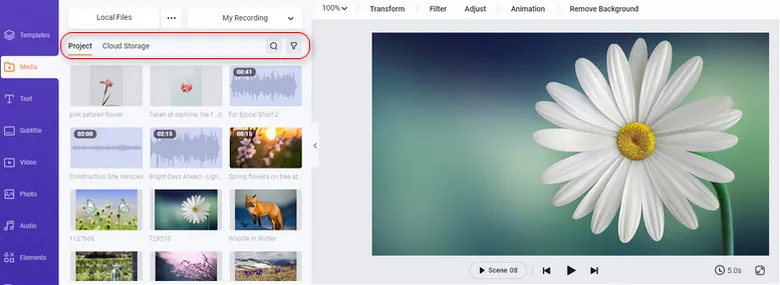
3.2 Stock Media
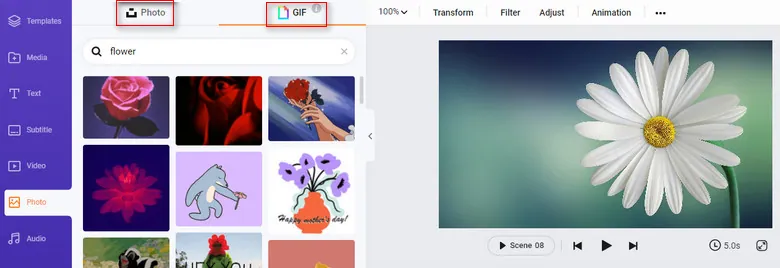
Click Video/Photo on the sidebar, enter keywords, and you can find the footage/images you need. You can add them to the timeline by clicking or dragging.

ThePhotolibrary provides tons ofGIFsas well. Enter keywords and you can easily find the resources you need.
All uploaded/added files will appear inMedia. You can click theAdd as Scenebutton on the lower right of the thumbnail to add it or drag & drop files to the canvas or timeline directly.
BTW, you can check all added files here by categories of videos, photos, and audio.
4. Timeline Zooming
On the timeline part, find useful options to edit elements in detail
Moving theZoom滑块可以调整时间轴的长度better view, and so does theFit To Screenbutton.

5. Scene
5.1添加场景
The Timeline mode lets you combine many scenes into a complete video project
To add a new blank scene, you just need to click theAdd Scenebutton or "+" icon at the end of the track. You can easily delete the scene by clicking the trash icon.

5.2 Edit Scene
On the timeline, you can find other useful editing options, such asTimeline, Add Scene, Split, Trim, Duplicate, Delete, etc.

Click theSplitbutton to cut a scene into two parts.
Dragging theplayheadcan locate the position to start the preview.
Besides, you can drag the edge of a scene to lengthen or shorten its time.
TheTimelinebutton will bring you into another window, which offers you a timeline mode in detail and allows you to edit multiple layers/elements freely.

5.3 Edit Canvas
On the canvas, you can:
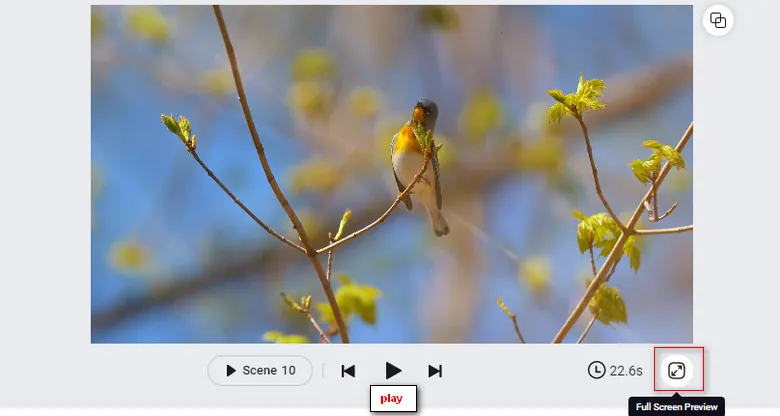
Click thePlaybutton to preview the current scene;
Click theFull Screen Previewbutton to preview the video project with a full screen.
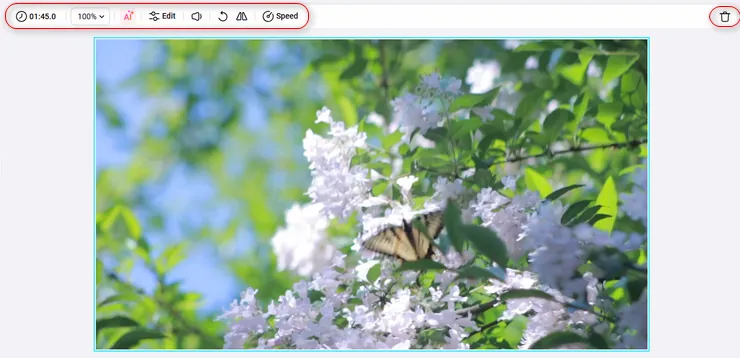
6. Edit Video
Click the video scene in the timeline, and edit it on the canvas. Here are various useful features, such asVolume, Zoom, Transform, Filter, Adjust, Speed, etc.
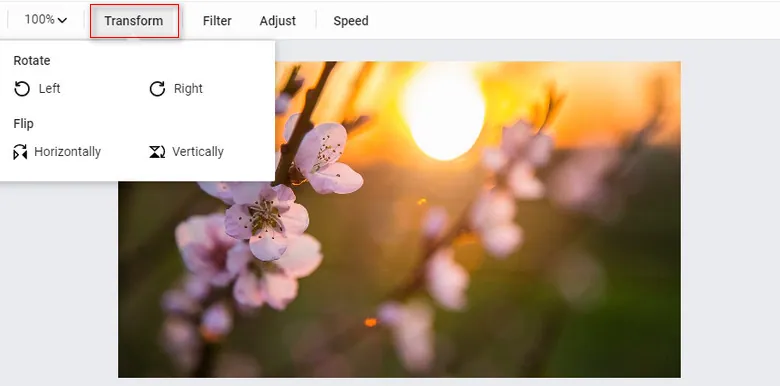
6.1 Transform
Click theTransformbutton to flip or rotate the video clip. Unusual angles may get a unique result.
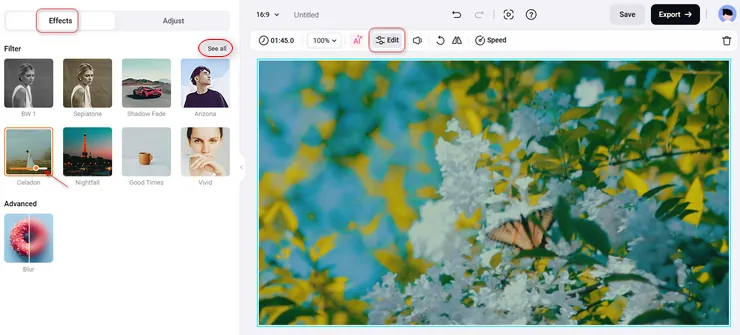
6.2 Filter
It doesn’t matter if your original video is not cool enough. Various filter effects are ready to help you.
Click theFilteroption and find various effects on the left side. Select a suitable style to decorate your video. You can adjust the effect value freely.
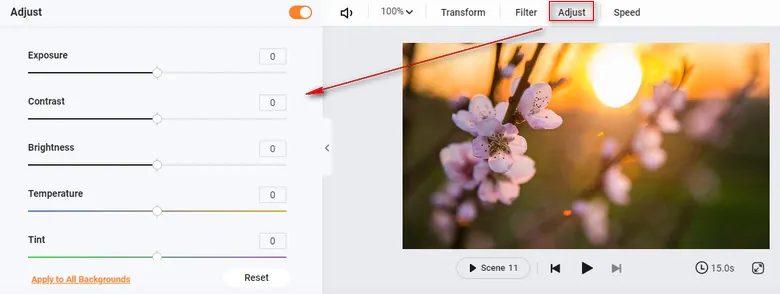
6.3 Adjust
If your video has any light problems, theAdjustfeature (color grading) can help you. Click theAdjustbutton on the toolbar, then adjust the values on the left side to edit your video.
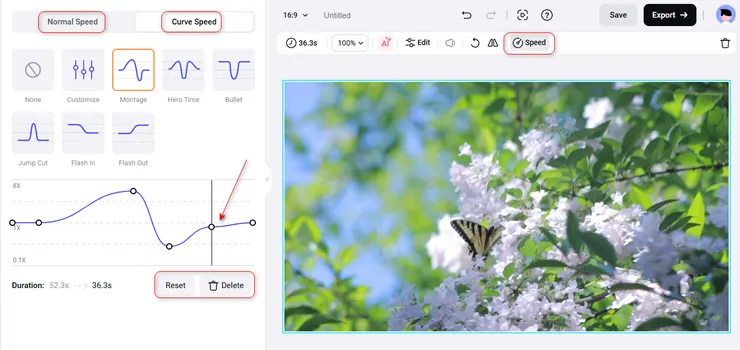
6.4 Speed
TheSpeedfeature allows you to make your video in slow-motion or fast motion from 0.2x to 8x,which can make make your video much more unique and attractive.
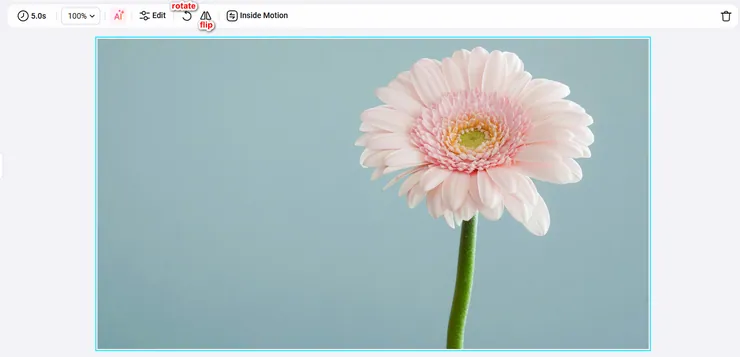
7. Edit Photo
On the photo scene, you can select tools likeBackground Color, Zoom, Transform, Filter, Adjust, Remove Background, and Animationto edit your photo properly.
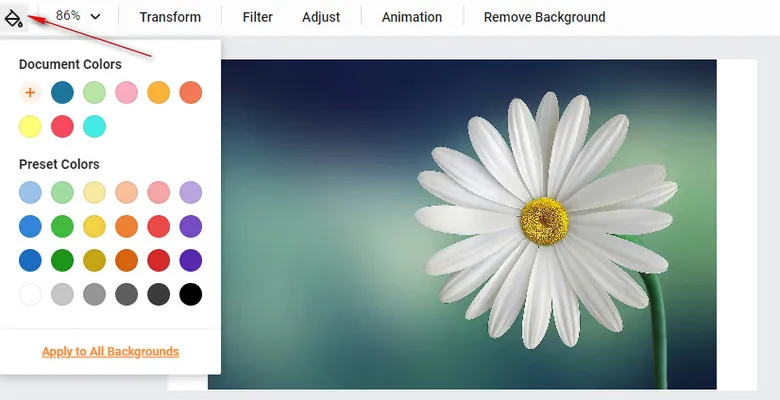
7.1 Background Color
TheBackground Coloroption will only appear when your photo doesn’t fill the screen. In this case, you can choose a color to decorate the picture.
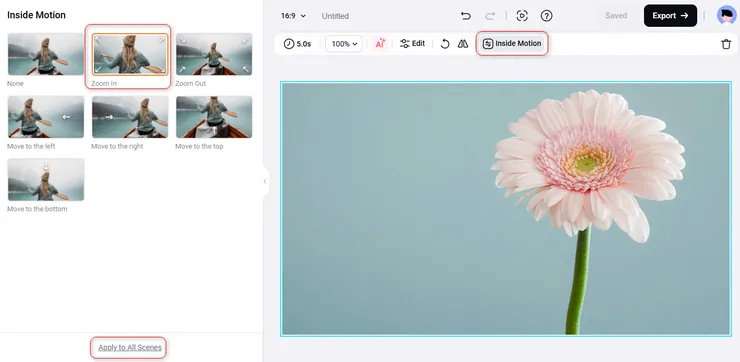
7.2 Animation
Click theAnimationbutton and you can choose a favorite motion for your picture to make it more vivid.
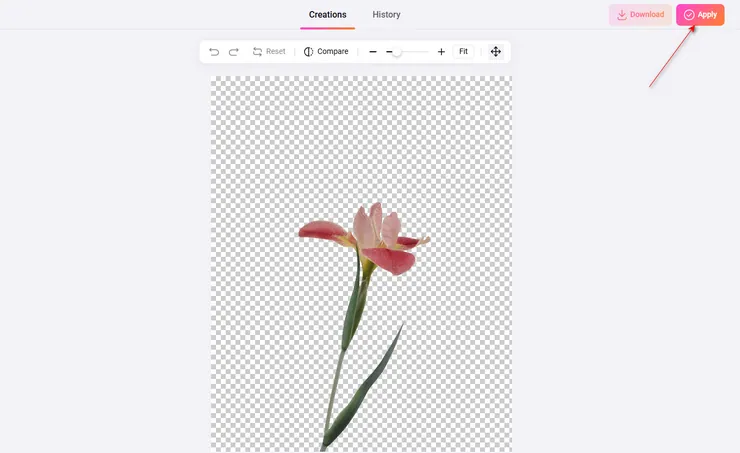
7.3 Remove Background
If you are not satisfied with the background of your image or just want to change to a better one, do not hesitate to use theRemove Backgroundoption. You just need one click to get a pure graphic without any annoying background.
8.Transition
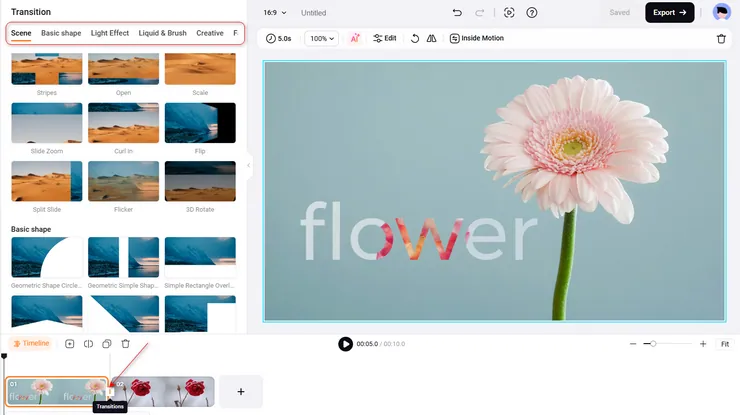
8.1 Add Transition
Click theTransitionbutton between two scenes, and you can choose from many transition effects to make these two scenes merge more smoothly.
8.2 Edit Transition
Select a favorite transition and adjust the duration and category properly. For theOverlaystransition, you can also change the color freely.

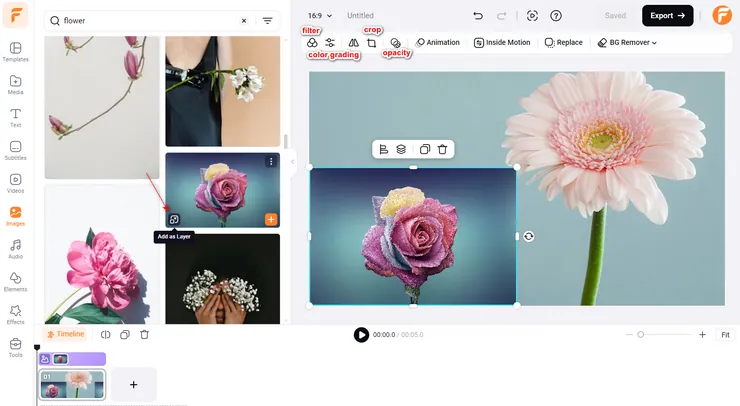
9. Picture in Picture
Click theAdd as Layerbutton on the lower left of a media file to add it as a layer, the so-calledPicture in Picture.
Click the picture/video layer you added, and you will find many options on the toolbar. According to your needs, you cancropit to other shapes, change itsopacity, add a suitablemotion,replaceit with another image/video, etc.
10. Text
Choose from a collection of handpicked text animations to touch up your video.
10.1 Add Text
ClickTexton the sidebar to find a lot of pre-built text animations:Basic Text, Modern Titles, and many others in different themes. Select and add the one that fits your needs.

10.2 Edit Text
Click the pen icon on the top of the canvas to be able to type your own words. You can drag the text box border to change its size quickly and move the text to any place in the same scene on the timeline.
To further customize your text, click on any text box and open the text editing panel on the top of the canvas, where you can change the font, color, format, size, background, motion, etc.
Besides, you can upload your own fronts if you have a premium account.

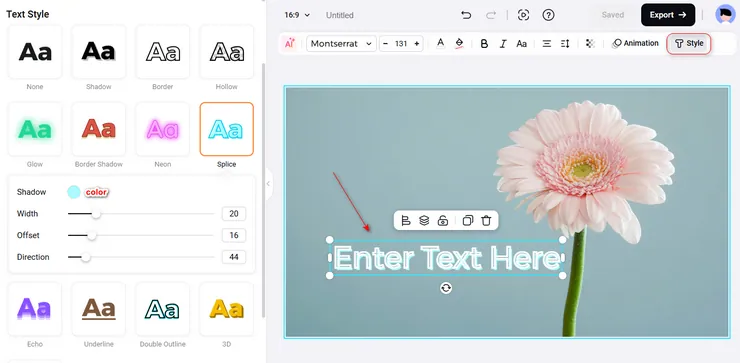
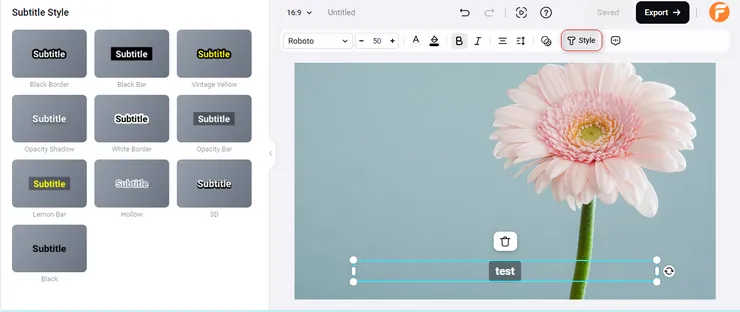
10.3 Text Style
When you are using the text samples, click theEditbutton and you can find variousStyleoptions on the left side. Select a favorite style, and make some micro-adjustments by dragging the slider, and you will get a unique text easily!
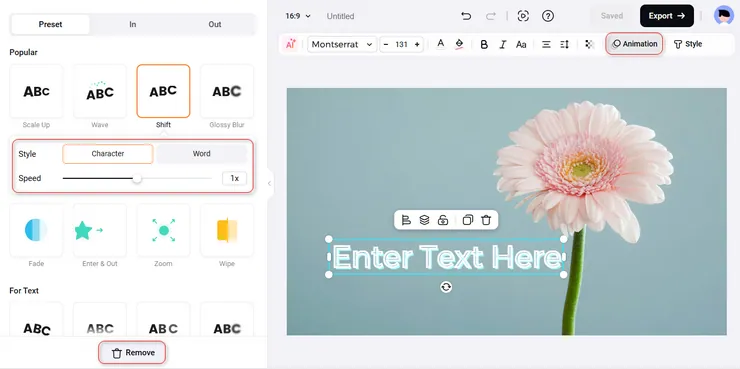
10.4 Text Motion
Make your texts move! Click theMotionbutton, and you will find many options on the left side of the canvas, including the preset of in & out and individual in and out motions.
Click one of the options, and you can preview the effect. You can choose to “move” the text by character or word. Feel free to select a suitable effect and make your text match your video perfectly!
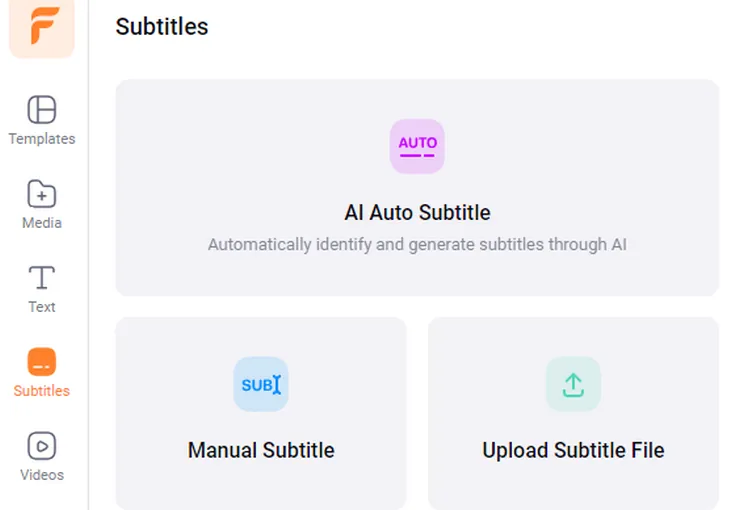
10.5 Subtitle
Want to generate subtitles or captions for your video and make it more compelling and accessible? Easy!
ClickSubtitleon the sidebar, and you can chooseAuto AI Subtitleto add subtitles automatically or chooseAdd New Subtitleto type texts manually.
Once finished, click theStylesbutton to adjust the details of subtitles, such as font, size, color, format, style, etc.
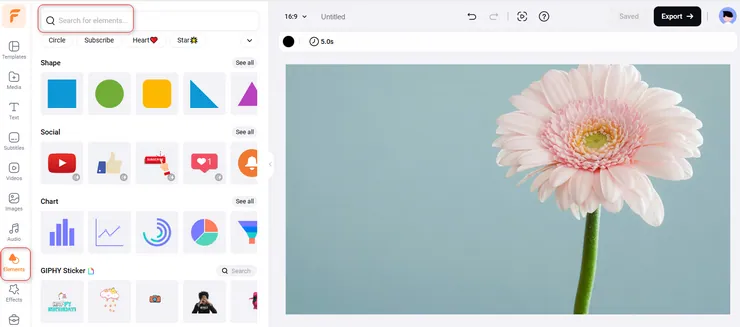
11. Element
11.1 Ordinary Elements
You can choose from millions of elements and add them to highlight your video.
Click theElementstab, type a keyword, and you can find out many relevant elements, including arrows, bubbles, shapes, emojis, etc.
To make the element more flexible, you can click theMotionbutton on the top of the screen to add suitable animations.
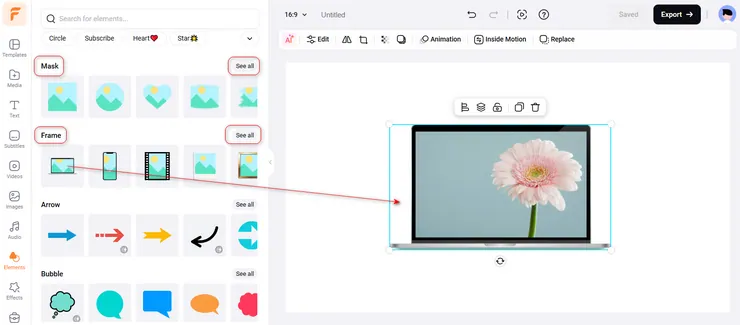
11.2 Frame & Mask
Choose a shape from Mask & Frame and add it to the canvas. Drag and drop a picture or video to the mask/frame, and then it will turn into the same shape.
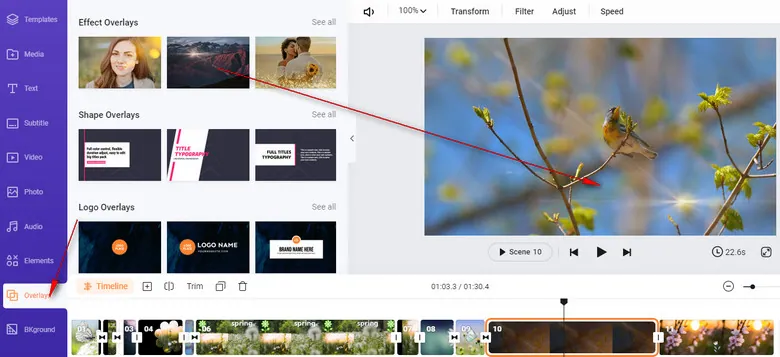
12.Overlays
To make your video to the next level, select and add a suitable overlay or logo to your video.
Click theOverlaystab on the sidebar to find various premade overlays, effects, and logo samples. You can easily add one of the samples to decorate the scene with a simple click.
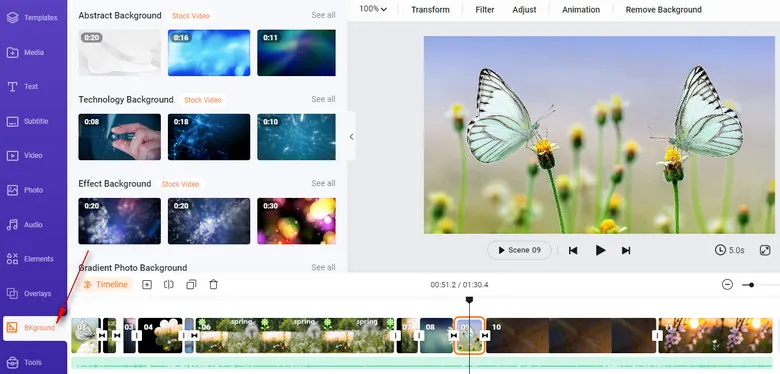
13. Background
Find cool background video templates on the left side of the canvas, and use them to decorate your video project.
14. Music
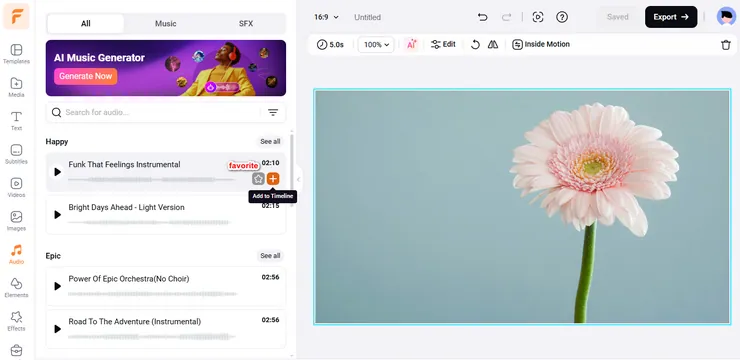
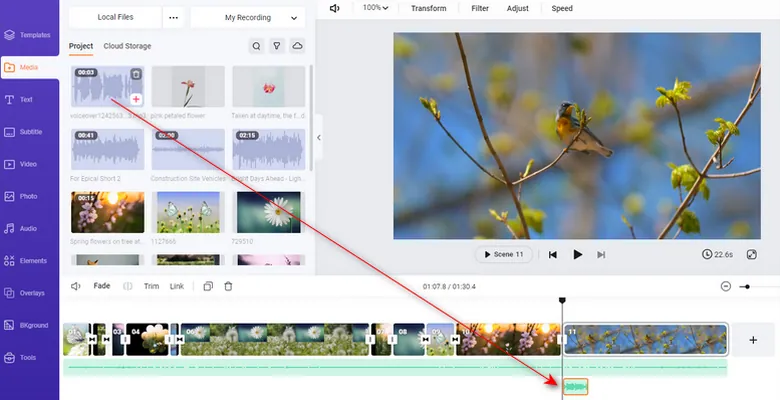
14.1 Add Music
You can choose to upload local music files fromMedia, click the audio track on the timeline to upload audio directly, or search resources from theAudiolibrary. Click theAudiotab, enter keywords and you can find the one you need. Add it to the timeline, and it will be added toMediaautomatically.
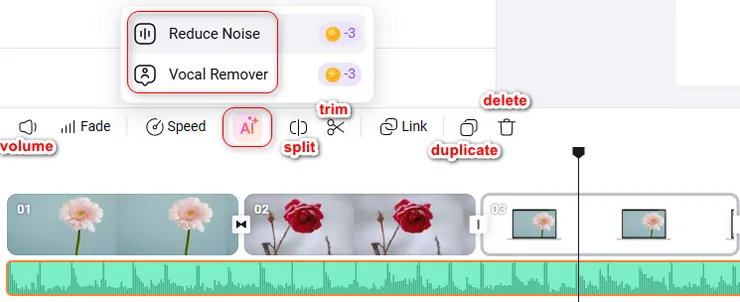
14.2 Edit Music
You can add several music files to different tracks on the timeline, and drag to adjust the position to fit the whole video.
Besides, in the toolbar at the top of the timeline, you can find options likeVolume, Fade, Split, etc.
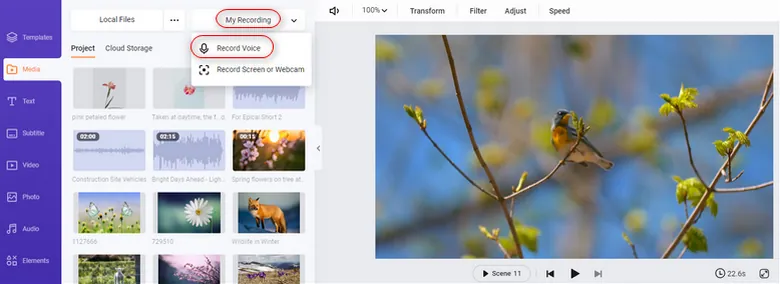
14.3 Voiceover
It’s easy to record your own voice to decorate your video.
ClickMediaon the sidebar and click the microphone icon (Record Voice).
Then, click the red button and start recording after a 3-second countdown.
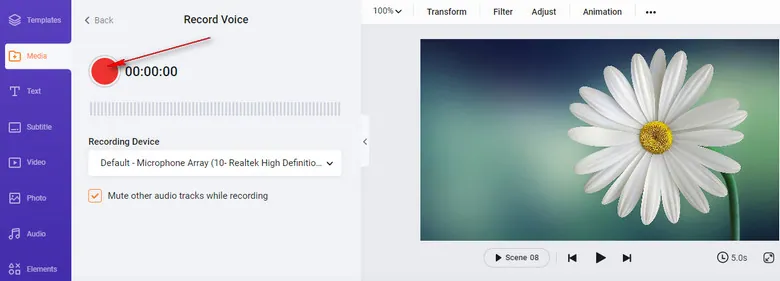
Once finished, the recording will automatically be saved to Media and you can get a copy to save it to your desktop. The voiceover file can be edited like general audio freely.
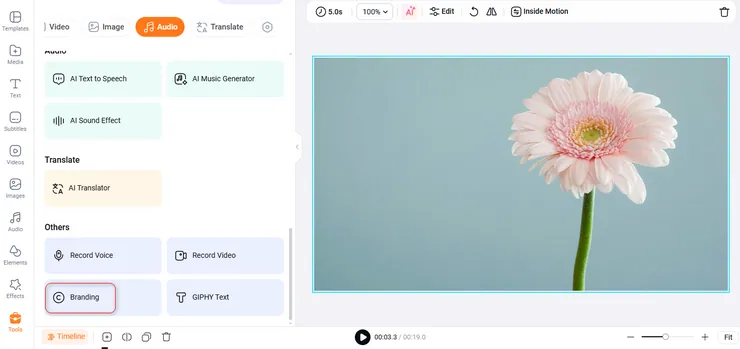
15. Branding
Click欧宝obo客服电话on the sidebar and you can find theBrandingoption.
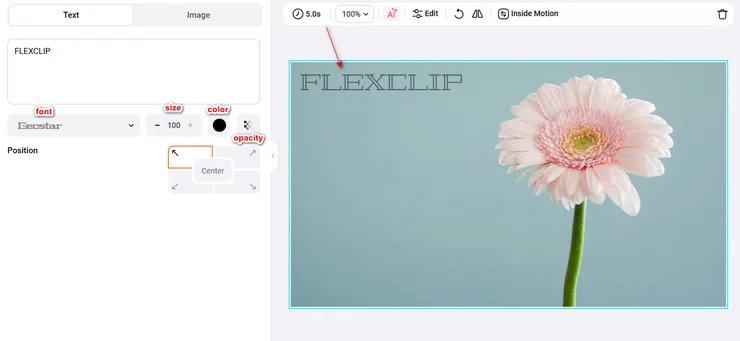
15.1 Text Branding
Type your brand name and make a watermark to announce the copyright. You can freely change the color, position, font, size, and opacity of the text.
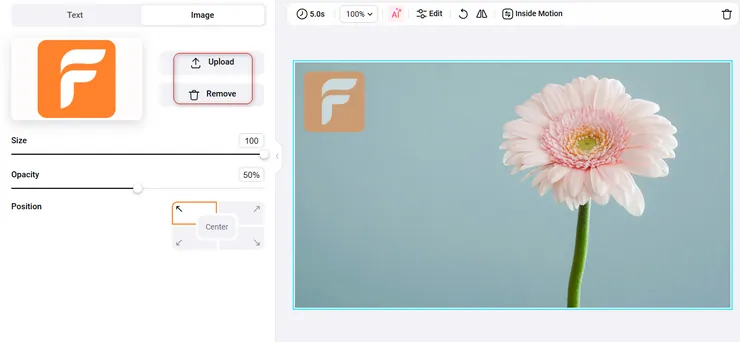
15.2 Image Branding
Upload aJPGorPNGimage from your computer, and then you can change the position, size, and opacity properly.
16. Export
When you are done creating your video, you can drag the playhead to the beginning of the timeline to preview the whole video.
Click theExportbutton, and you can choose to download aVideo or GIF.
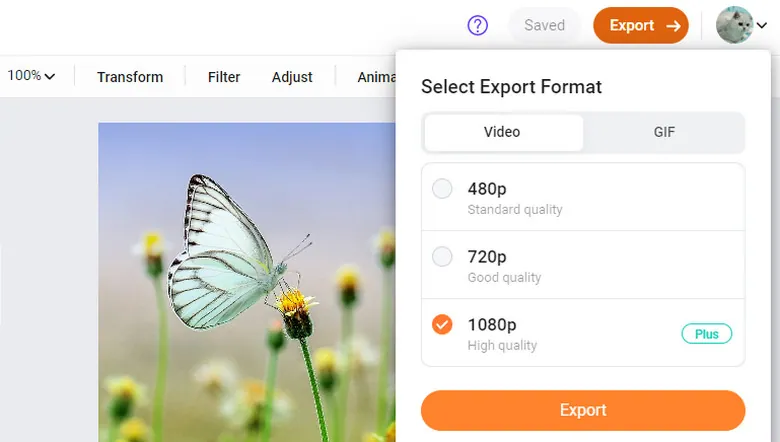
16.1 Export Video
If you want to download avideo, you can choose quality from 480p, 720p, and 1080p. Staying on the export page can download the video faster.
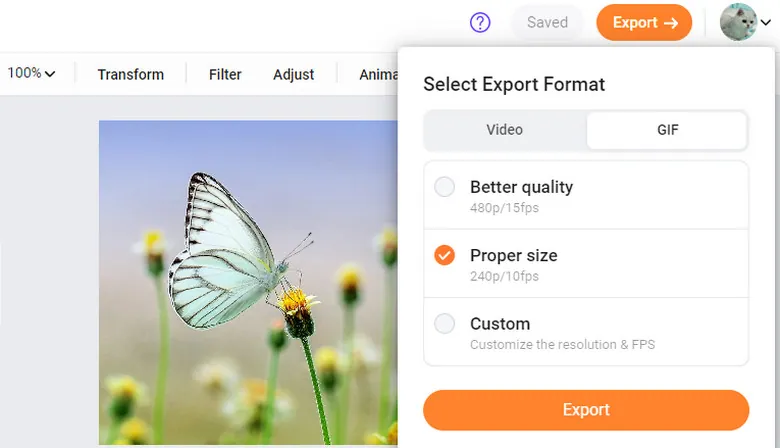
16.2 Export GIF
If you choose to download aGIF, you can click the GIF button to choose/customize a suitable size to download.
17. Advanced Features
17.1 Ratio
Click theRatiobutton to select a suitable ratio for different platforms, including 16:9, 9:16, 1:1, 21:9, and 4:5.

17.2 Undo & Redo
Click the button on the top left corner of the canvas or directly press Ctrl - Z to undo the last action you did.
Click the button on the top left corner of the canvas or directly press Ctrl - Y to redo the last action quickly.
Tips: Replace Ctrl with Command on Mac.
17.3 Align Object
FlexClip添加一些辅助线来帮助你align elements and texts. Besides, you can press the direction keys for micro adjustment.

17.4 Cloud Storage
You can find theCloud Storagebutton on the top right corner by opening theMediapart. It is available to all premium accounts. You can upload your video, music, and pictures files to FlexClip and save them online in case of data loss. And you don't have to relink files once you change the device.
You can find theCloud Storageas well as theMy FontsandMy Templatesentrance on yourHomepage.
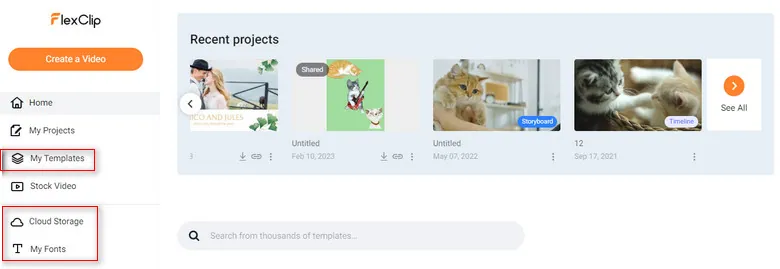
17.5 My Templates
Currently, you can make and save your own templates.
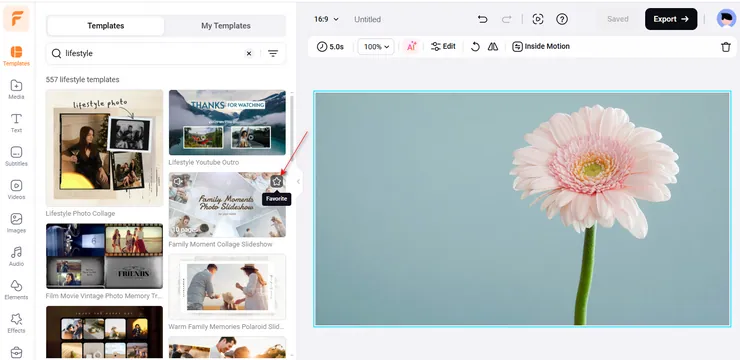
Method 1: Hover the cursor on the template’s thumbnail, click the heart-shaped icon on the top right corner, and then you can mark it as your Favorites. You can find your favorite templates on your home page.
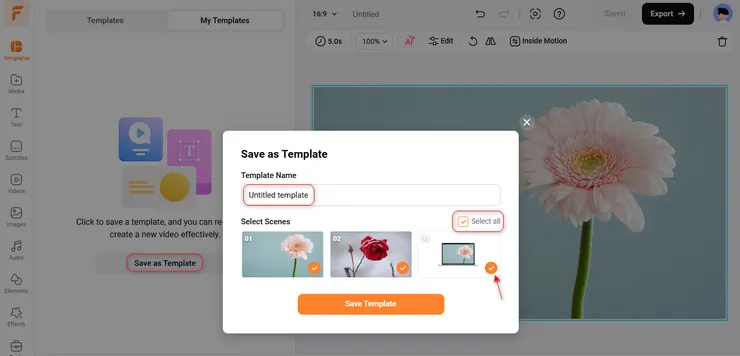
Method 2: After finishing a video, you can clickMy Templatesand clickSave current project as templateto save this video as a template for further editing in the future.
17.6 Rearrange
You can easily drag to rearrange the scenes on the timeline.
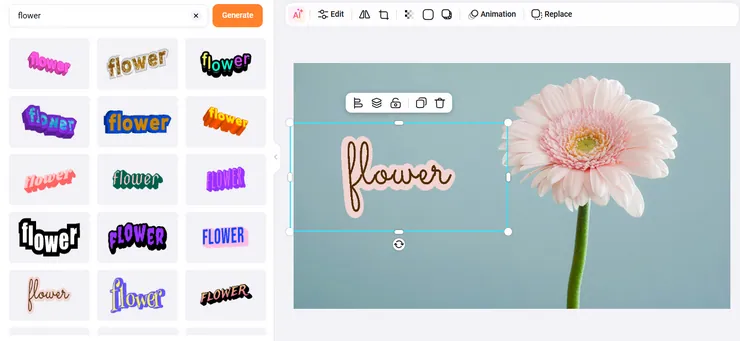
17.7 Giphy Text
Click the欧宝obo客服电话button on the sidebar and you will find aGiphy Textoption.
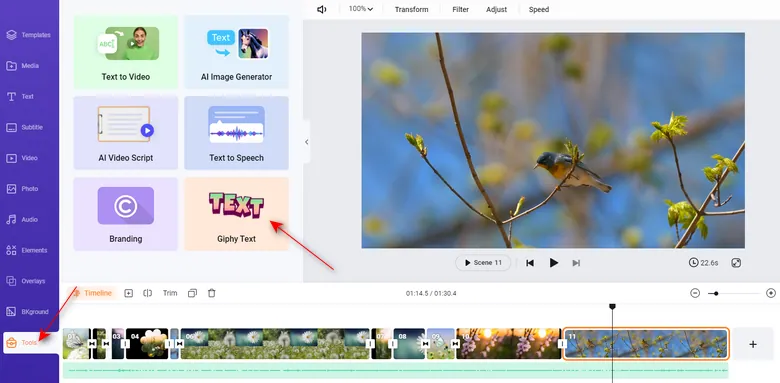
Click this option, enter a word in the search box, and it will show you lots of giphy texts to choose from. They are dynamic! (Note: Giphy texts are kind of gifs, which are images instead of real texts.)
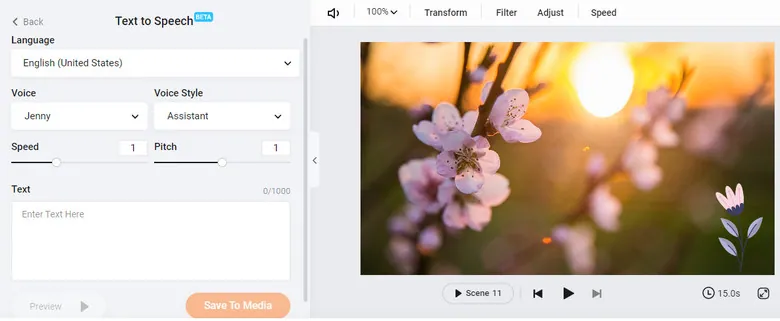
17.8 Text to Speech
Find theText to Speechoption inMedia, and you can easily convert your text to fluent speech in minutes.
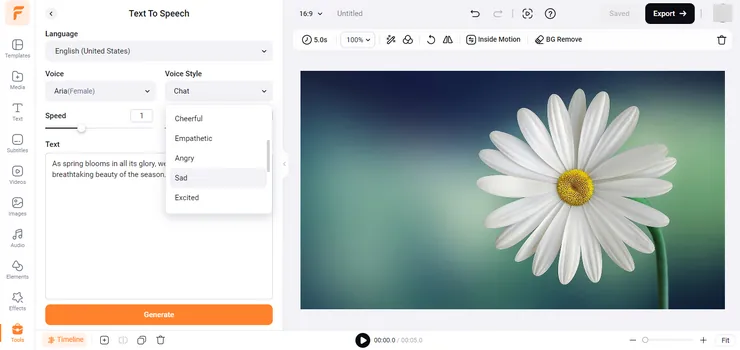
Here, you can choose language, voice, voice style, speed, etc. Enter texts (up to 1000 characters each time) and click thePreviewbutton to check the result. Once finished, you can clickSave To Mediaand get an mp3 file, which can be edited as normal audio resources.
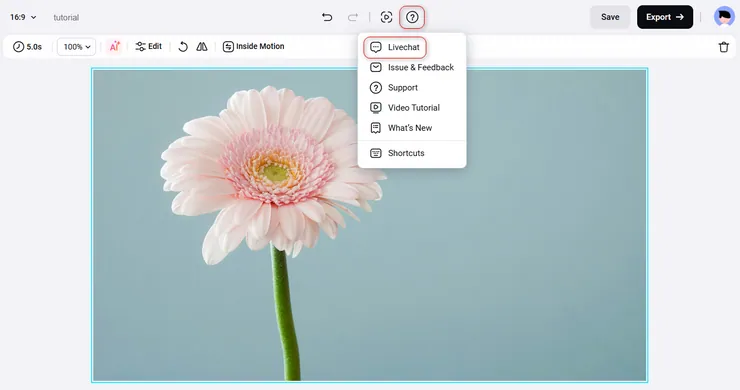
17.9 Livechat
If you have any questions or suggestions while editing, just click the question icon and chooseLiveChatto contact our support team. We'll try to help you solve problems ASAP.